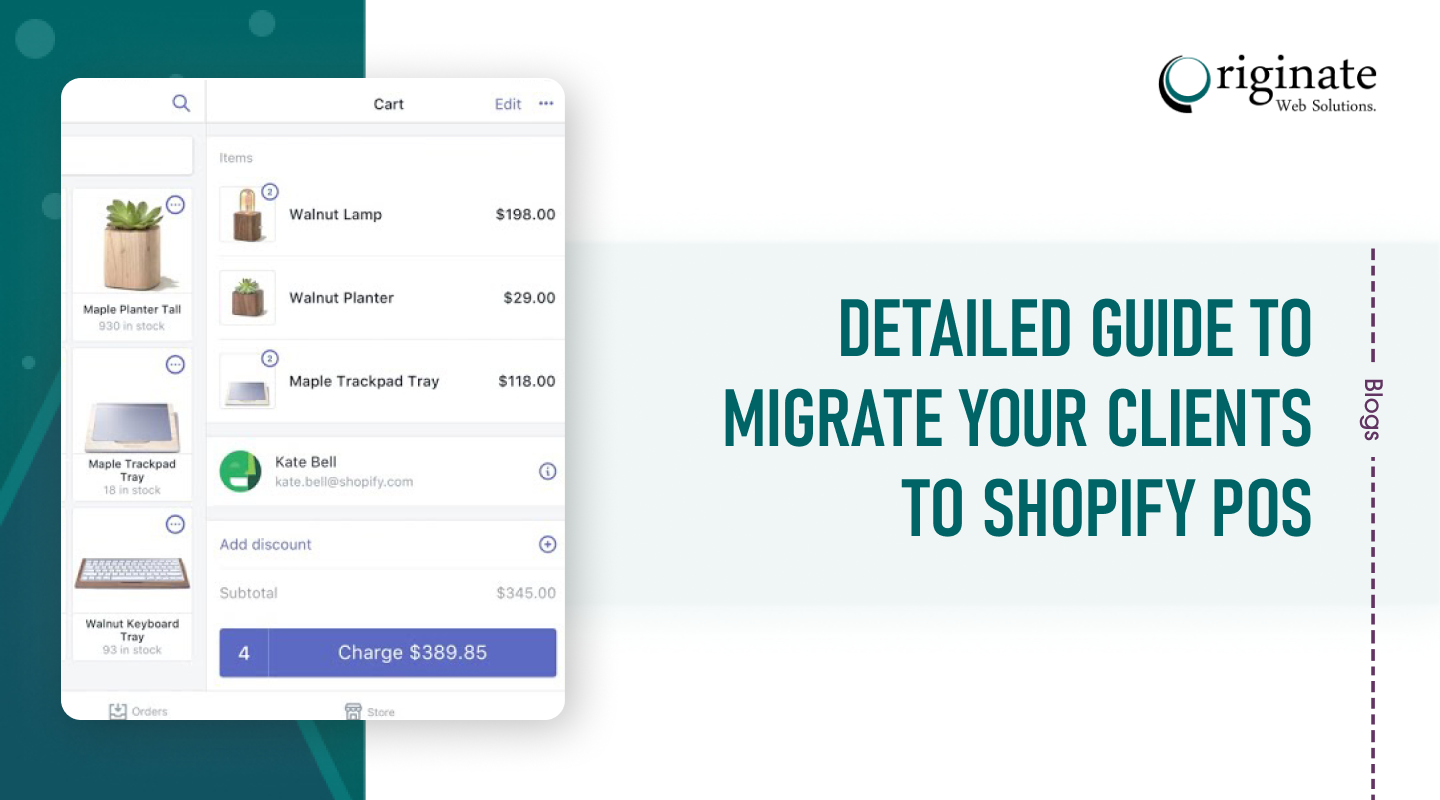
Ecommerce is changing every single day as Shopify POS is the need of the hour for businesses to keep their sales integrated and accessible using one dashboard. With the Shopify POS interface, businesses can ensure that their sales are collectively at one place irrespective of the varying channels.
Moreover, if the businesses want to gain a competitive edge, they should bridge the gap between their physical and online stores using the basic information about the Shopify POS hardware. Businesses can also focus on delivering an exceptional and impactful experience to its customers.

Migrating the client data and information to Shopify POS is no less than a challenging task. While migrating your clients, remember that the total time will vary depending upon your client’s data or the on-boarding time they need to get familiar with the hardware. Let us start understanding the overall procedure of migrating the clients to Shopify POS.
Why Do You Need a Shopify POS System?
To track sales, inventory management, and collect in-person payments, the Shopify POS system is an excellent choice.
It can be challenging to manually record each sale and control the inventory management. As a result, it compromises the businesses from making excellent growth-oriented decisions. Moreover, inventory management demands a significant amount of time with high risks of errors resulting in late or wrong orders.
The Shopify POS interface retains the worth of customer data to efficiently manage the inventory and sales. It stores the customer’s information and uses it to enhance personalized customer experience resulting in a better business reputation.
Finally, Shopify POS is a recommended choice for multiple payment options. It accepts cash, cards, mobile payments and allows users to split their payments across different platforms.
Requirements From Clients Before Migrating To Shopify POS:
The quick and simple migration to Shopify POS largely depends upon the process of collecting the required information ahead of time. You must ask your clients for relevant information to avoid any confusion during the migration process.
Deciding what should be involved for a smooth migration, it is best recommended to evaluate and analyze your client’s data . Understanding the data type that your client’s old platform was tracking will give you a transparent idea about the estimated time you need for the migration.
The essential information from your clients can include:
- Customer data
- Inventory information
- Gift cards
In some cases, these details are accessible through your client’s previous POS provider admin of the POS provider while in others, the clients must get in touch with their current POS provider to access and export these details.
The migration to Shopify POS pro is a potential opportunity to clean the inventory levels and get an estimated idea of the fresh stock count. This ensures that the imported data about the products, customer data, gift cards, etc., is available according to the merchant’s preferred state. This also provides a better understanding of how to use Shopify POS app.
Steps To Migrate Your Client’s Data
When migrating your client’s data to Shopify POS, understand that the transfer will be over the existing data such as orders, customers, products, etc. Transferring every data will require more time and effort; thus, only the extremely important data for execution should be transferred.
These are the essential steps to follow to migrate your client’s data:
1. Add Products:
Adding products is the first and most important step to ensure seamless selling on Shopify. You can use tools like the Shopify migration hub to transfer your client’s products from their old platform to Shopify POS. Besides this, you can also create CSV files to upload important information about merchants’ products, inventory, etc., in bulk without any mistakes.
2. Adding Gift Cards:
The next step should be to transfer the merchant’s gift card details from the old platform to the latest Shopify POS platform. It can be done either manually or by using the reliable selling point app. While doing the process manually, all possible errors should be taken care of to ensure a smooth migration process.
3. Organizing Merchant’s Products:
After the client’s products are added to their store, it is now the right time to understand and develop the strategy to organize the product catalog. The merchant’s products can be organized using any of the four ways – collections, vendors, tags, and types.
4. Creating Barcodes For New Products:
Barcodes are essential in quick product identification while using hardware. Thus, if your client’s products do not have a barcode attached, ensure to create a new barcode for the same.
To generate a barcode automatically for the client’s products, it is recommended to use the Retail Barcode Label App.
5. Focus On Establishing Client’s Inventory Management:
To manage their inventory in the best possible way, Shopify merchants can use apps like Stocky, Shopventory, etc.
- Stocky is an ideal app for Shopify merchants having fewer products and one store location.
- Shopventory is an excellent choice for Shopify merchants having a store in multiple locations with a wide range of product catalogs.
6. Defining Product Discounts:
Offering discounts is an excellent way to attract new customers and ensure high retention rates. It also boosts customer loyalty when they are offered attractive and reasonable discounts.
The Shopify POS interface allows the merchants to create various discount codes for their products or shipping rates. These discount rates can either be generated manually or automatically using apps.
Client’s Setting Configuration in Shopify Admin:
Configuring your client’s setting is important as it ensures that they can easily fulfill all their orders, receive payments, charge the required tax, etc., to leverage the benefits of Shopify POS pro. Configuring the client’s setting requires 4 stages, which are as follows:
1. Setting Up Shopify POS Location:
This can be done using either of the 2 types of POS subscription plans –
a). Shopify POS Pro
Suitable for merchants having brick-and-mortar stores as they can enjoy additional features to manage inventory, staffing, reporting, etc.
b). Shopify POS Lite
Suitable for merchants selling on weekends, events, trade shows, etc., as they can use basic features
2. Setting Up Shopify POS Shipping, Pickup, and Delivery:
The merchants should clearly define all the required details and information for seamless shipping, pickup, and delivery of all the products, orders, etc.
3. Setting Up Taxes:
The Shopify POS defines taxes based on the store location assigned to the POS device. The merchants should include store locations in the shipping zone for automatic calculation of taxes.
4. Setting Up Payments:
The merchants should define payment processing methods for their stores before they start receiving payments. They can either use Shopify payments or rely on a reputed 3rd party payment provider for the same.
Cost of Shopify POS System
Every Shopify plan includes Shopify POS to offer users convenient and easy checkout solutions. Irrespective of the chosen Shopify version, you can still use the Shopify pos interface without any hassles.
The Shopify POS system can be relied on for:
- Multiple integration compatibility
- Mobile friendly and easy to use
- Better and accurate reporting
- Enhanced customer management
- Efficient store management
Only the Shopify Pro Plan includes Shopify POS pro, which costs an additional $89 monthly. Also, the Shopify POS must be integrated into hardware, available in the hardware store, for the physical stores. The initial cost starts at $29 and can maximize to $299 for the basic setup.
Required Hardware And Shopify POS Set Up
Your client should focus on buying the hardware compatible with Shopify POS and setting up the required terminals.
1. Basic POS Setup:
Your client should buy an iPad, iPhone, or Android device for selling in person. After the purchase, the Shopify POS app should be installed on the device.
2. Adding Users to POS:
Add every person working for the store as POS staff so they can use and execute the Shopify POS app for running their store.
3. Connect with Shopify POS Hardware:
Every Shopify pos hardware comes with its defined set of instructions for proper working. Merchants should follow the instructions to connect the device’s hardware with Shopify POS.
4. Train your Staff:
After the client’s hardware is set up, the focus should be on the staff training to use Shopify POS.
5. Execute a Test Transaction:
After completing all the above-mentioned steps, execute a test transaction to ensure that everything is working accordingly as needed. This will also give an idea about the actual Shopify POS pricing that the business requires.
Shopify POS is a powerful tool which allows merchants to make the most for their businesses. With benefits like better order management, report analysis, marketing campaigns, etc., businesses can ensure their growth.
Final Thoughts:
With more online stores, businesses need Shopify POS to better management of their sales at a commonplace. Migrating your client’s data to Shopify POS can be daunting without proper information and understanding. We hope this detailed guide highlights functionalities and how to instantly set it up. If you have doubts, do connect with us in the comment section. Our industry experts will provide instant assistance to help you make the best use of Shopify POS hardware and interface to witness significant results.

